
What Really Happens at a Mold Trial? Our T1, T2, and T3 Sampling Process
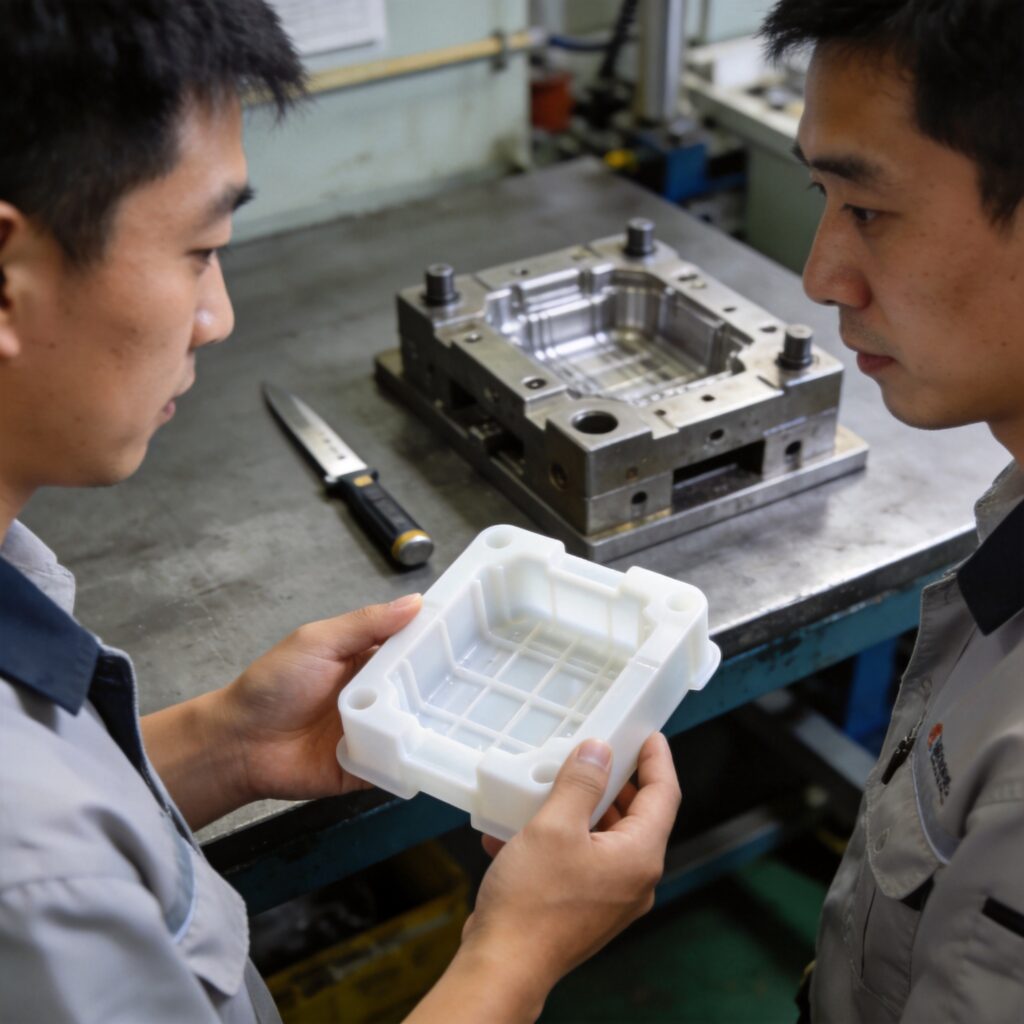
If you have only seen injection molding on a finished production line, a mold trial looks chaotic. The tool goes into the press cold, the first parts come out half-filled, and nobody in the room is surprised. That is the point of sampling. We are not trying to ship those parts. We are collecting data on how the mold fills, how the resin shrinks, and where the tool needs cutting.
At Yuming Plastic Mold we run most projects through three sampling rounds before production. Buyers who understand this process tend to get to market faster, because they stop expecting perfect parts from the very first shot.
T1 sampling: does the mold fill at all?
T1 is the first time steel, resin, and machine meet. We mount the mold on a matching-tonnage injection molding press, dial in a conservative shot size, and run short shots on purpose so we can watch the flow front move through the cavity.
Our engineers are looking at a fairly specific list:
- Short shots and trapped air — sections that will not fill, which usually points to a venting or gate-location problem
- Flash — plastic squeezing the parting line, a sign clamping force or land area needs adjustment
- Weld lines and sink marks — visible wherever flow fronts meet or material piles up behind ribs and bosses
- Warpage and shrink rate — we measure a handful of critical dimensions against the 3D model, then decide whether to scale the cavity
- Ejection behavior — parts that stick, scuff, or deform coming off the pins
We do not run a full dimensional report at T1. Measuring every tolerance on a part that is clearly going to change wastes everyone’s time. We capture the critical dimensions, take photos, and write the tool correction list while the mold is still warm.
T2 sampling: dimensions, color, and surface finish
Between T1 and T2 our toolmakers weld, re-cut, or polish the areas flagged in the first report. Gate size changes, vent depth changes, and cooling tweaks all happen here. Shrinkage is corrected by cutting the cavity to the measured value rather than the textbook one, because real shrinkage depends on wall thickness, gating, and cycle time.
At T2 we run the full dimensional inspection against your 2D drawing, mold texture or SPI finish is applied if it was deferred, and we match color using the actual production resin. Texture has to go on late on purpose: polishing or welding over an etched surface ruins it, so we wait until the geometry is stable.
T3 sampling: proving the process is stable
T3 is where we stop thinking like toolmakers and start thinking like a production floor. We run a batch, often a few hundred shots, at the intended cycle time and watch for drift. Dimensions are re-checked on parts from the start, middle, and end of the run. If a dimension creeps as the mold reaches thermal equilibrium, that is a cooling problem, not a steel problem, and it is cheaper to catch now.
For automotive and medical customers this round feeds the first article inspection report and PPAP paperwork. For most consumer products it is simply the green-light run.
What buyers can do to keep sampling short
- Send the final 3D model and a dimensioned 2D drawing before tooling starts, and freeze the design. A geometry change after T1 means re-cutting hardened steel.
- Tell us which dimensions are truly critical. Twenty tight tolerances cost more than five that matter.
- Appoint one person to approve samples. Feedback coming from three inboxes will contradict itself.
- Expect minor cosmetic tuning at T2. That is normal; it is not evidence the mold failed.
A well-run mold trial is not a hurdle, it is where risk gets removed from your program. If you are comparing China injection molding partners, ask how they document sampling. A vendor that skips written reports or promises zero iterations is usually the one you pay twice.
Planning a new tool? Send us your 3D file and we will flag likely sampling risks before any steel is cut — request a free DFM review.